 |
| Shoolponics on the wall |
Until last week, the School Ponics system was enjoying an outdoor summer and beginning fall, but last week end, the schoolponic moved out of Quaint's back patio. Originally, the schoolponic systems was to spend the summer in quaint, and move back to the Bronx Writing Academy, once the fall school semester started. However, this did not happen. The school decides that hydroponic was not fitting their school projects, therefore, the indoor garden could not continue. Although, after spending the summer and part of the fall at Quaint, I recovered the system and brought it home. I am now looking for another school to continue the project, but in the time being, I am trying to keep the plants installed by the 6 graders form Bronx writing academy live and producing. So after the last harvest, I brought the system home, but in a new York city apartment, one has to find a space management solution!
This is how I solved the space problem for now. Since I have a little space in between the 2 kitchen windows, I invaded the space with the towers, first In a couple of bowls to keep the towers from drying and the plants from dying, working for a few days as a "no power ponics" a la JT Bear.
Then since I have not yet found a school to continue the project, I decided to build something a bit more aesthetically pleasing, and since I had my homeponic aside from it, I thought I would be a good idea to fuse them.
 |
| No power schoolponics |
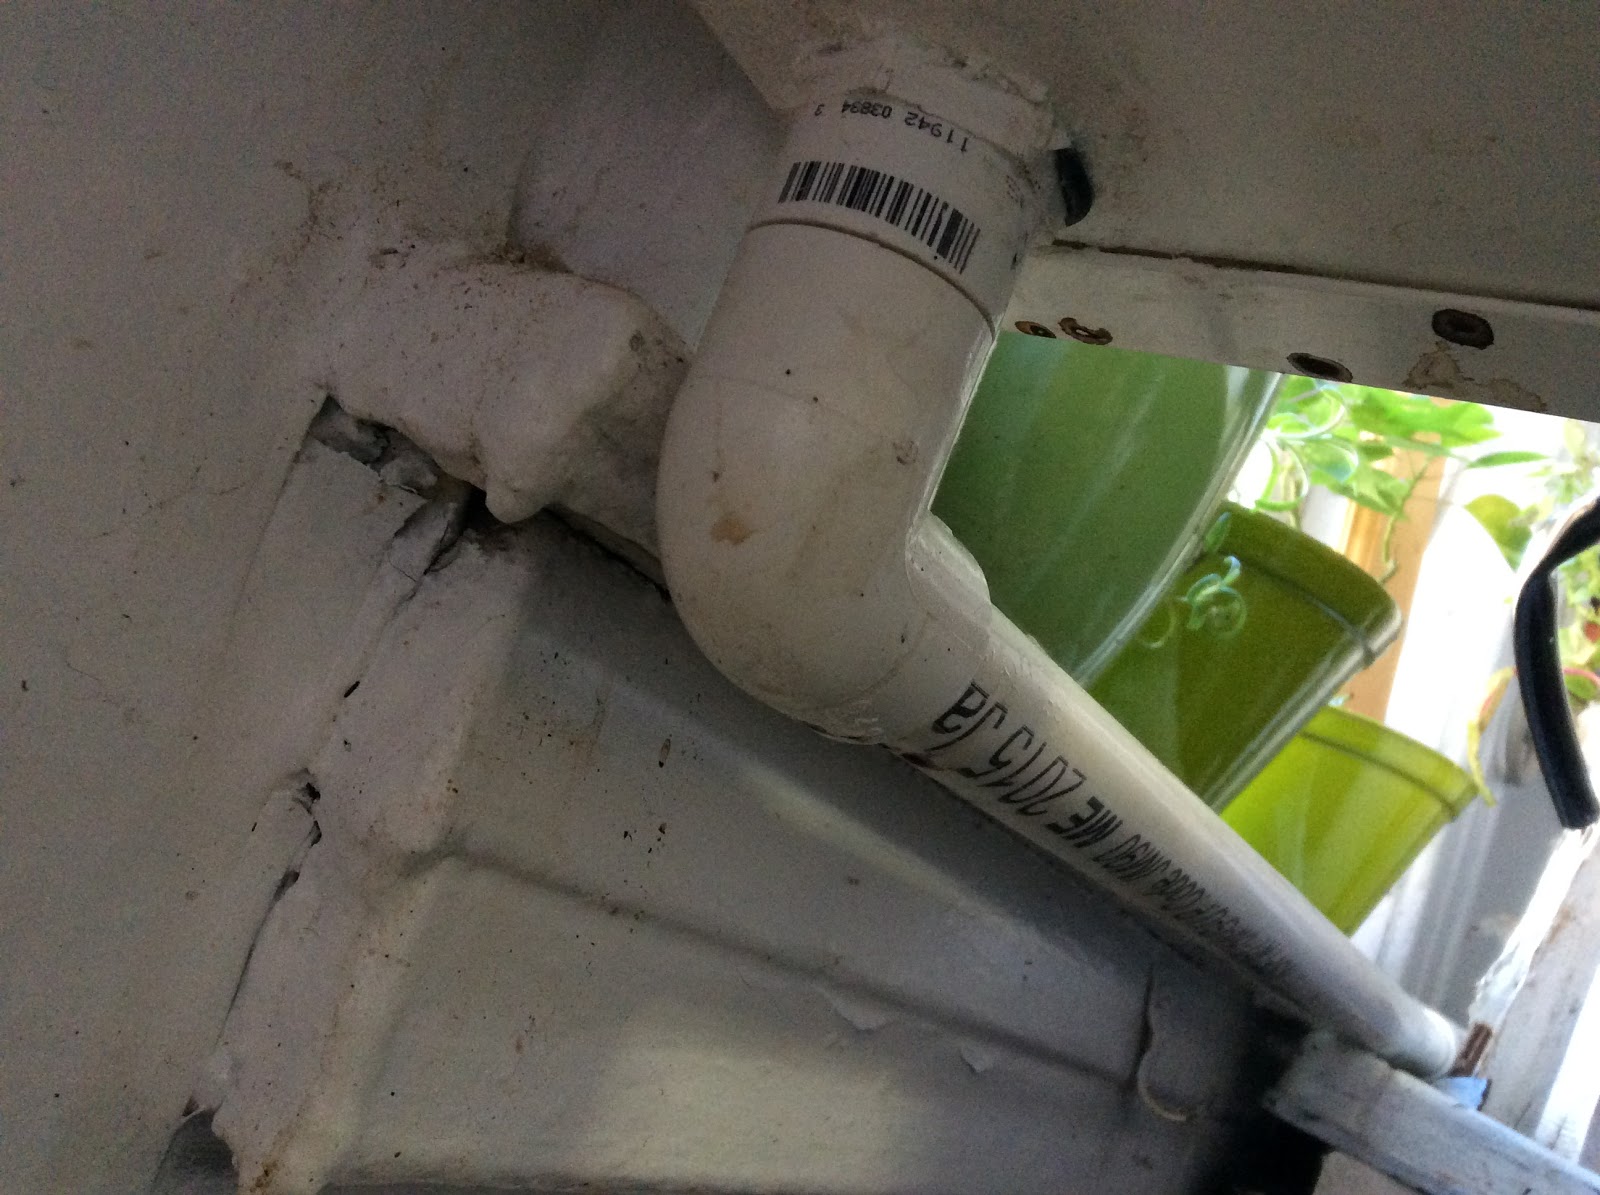
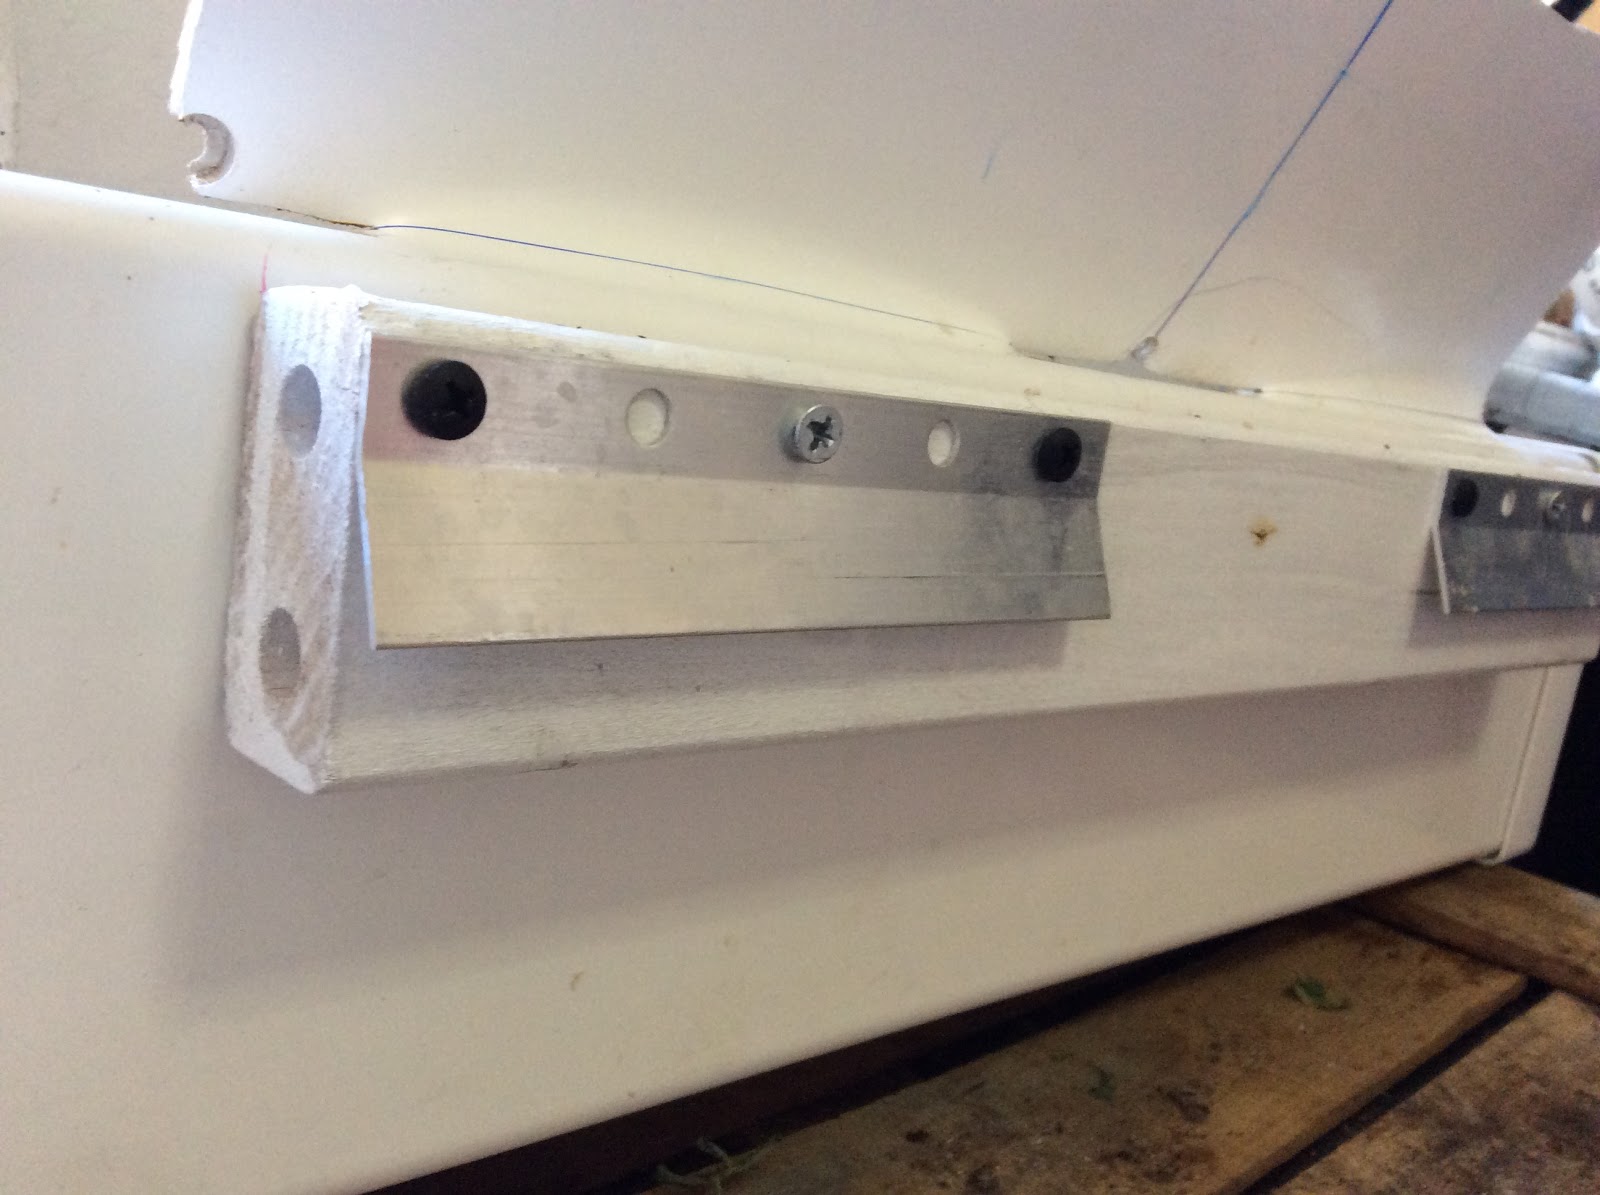
Since the towers are white and 4x4, I got a PVC post and end-caps, some silicone caulk and made a collecting channel for the towers. Using halved threaded male coupling and a 1' diameter male to female threaded to pressure coupling, a couple of bits of 1' pvc pipe and a couple of elbows, to drain the collecting channel in the "sump tank" from the homeponics. to attach the channel to the wall, and be able to remove it easily, once I will have found a school, and or to clean it when necessary, I used a couple of french cleats, and I fixed the channel onto a 1x2 board, then the cleat onto the board so there is some clearance for the window frame, and it also allow the towers o be a a slight angle, preventing water to run out of the towers from the front.
 |
| Endcaps glued, tower window opened |
 |
| Predrill hole to slide jumpsaw in |


After cutting the PVC post to size, I opened a "window" on the pot for the end of the towers to slide in. To prevent potential splashing on the wall, I did not cut the fourth part of the window, and bent it heating with a heat gun. I then glued on the end caps with silicon caulk, drilled a 1'' hole using a spade drill bit, with a piece of wood on the other side (to allow for a better cut of the hole). I was then able to thread the female to male coupling in place, with a O ring and a bead of silicon to make sure it is sealed. The 1' hole is just tight enough to force the threaded coupling into place, and the O ring + caulk might be an overkill, but I don't want a leak in my kitchen. I then halved the male threaded coupling and threaded it (again with a O ring and a bead of caulk) on the inside of the collecting channel. I then screwed the 1x2 board on the top / back of the channel, and then the cleats.
 Since I didn't want to risk the tower to flip a
nd fall, or to be too heavy the the channel/ cleats, I also used a 1X2 board to fix on the wall, and screwed in a screw per tower, to hang them from the top. Finally, I added some flexible pipes from the pump in the homeponics to distribute the water to the 4 towers and the homeponic tower.The system is not complete, and running for a couple of days. When I recovered the school system from Quaint, everything was harvested - which is a good thing - because I think otherwise, the no-power hydroponics would not have maintained alive the plants. green onion survived, parsley, the marigold that
grew on one of the towers, the swiss chard, and one of the basil have came back to life !


 After cutting the PVC post to size, I opened a "window" on the pot for the end of the towers to slide in. To prevent potential splashing on the wall, I did not cut the fourth part of the window, and bent it heating with a heat gun. I then glued on the end caps with silicon caulk, drilled a 1'' hole using a spade drill bit, with a piece of wood on the other side (to allow for a better cut of the hole). I was then able to thread the female to male coupling in place, with a O ring and a bead of silicon to make sure it is sealed. The 1' hole is just tight enough to force the threaded coupling into place, and the O ring + caulk might be an overkill, but I don't want a leak in my kitchen. I then halved the male threaded coupling and threaded it (again with a O ring and a bead of caulk) on the inside of the collecting channel. I then screwed the 1x2 board on the top / back of the channel, and then the cleats.
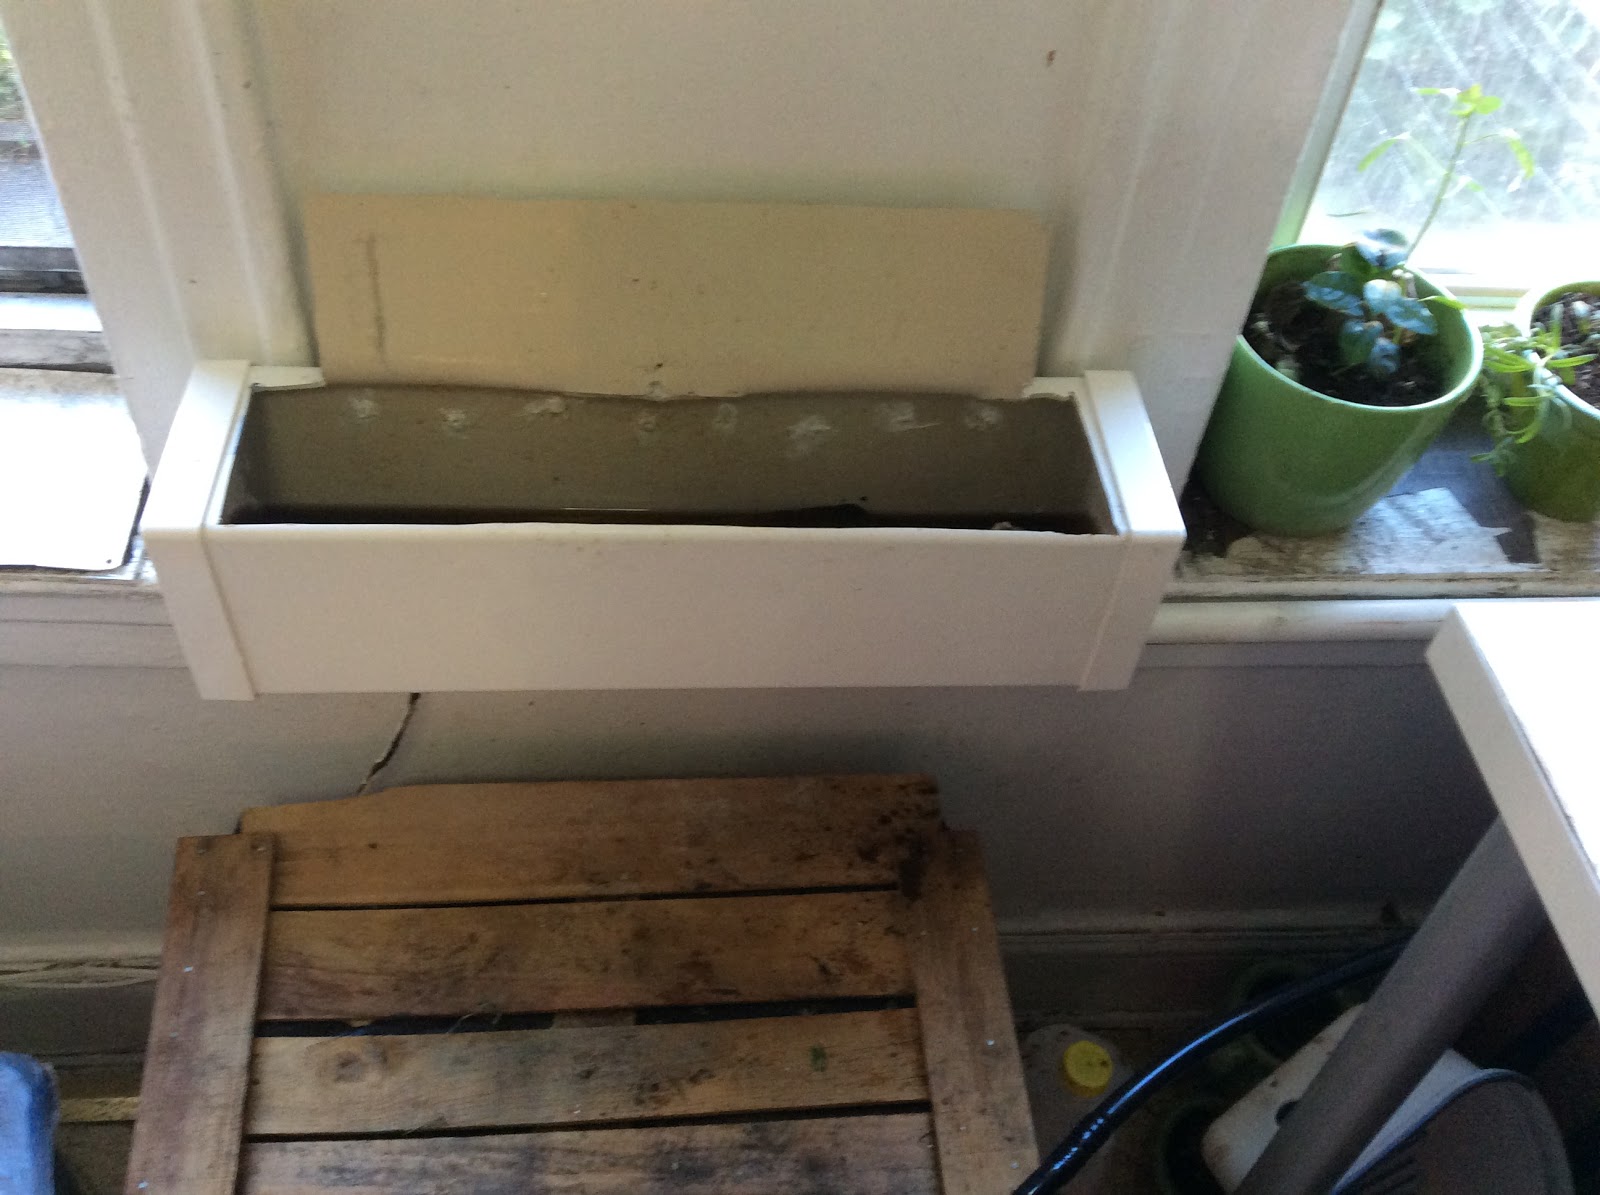 Since I didn't want to risk the tower to flip and fall, or to be too heavy the the channel/ cleats, I also used a 1X2 board to fix on the wall, and screwed in a screw per tower, to hang them from the top. Finally, I added some flexible pipes from the pump in the homeponics to distribute the water to the 4 towers and the homeponic tower.The system is not complete, and running for a couple of days. When I recovered the school system from Quaint, everything was harvested - which is a good thing - because I think otherwise, the no-power hydroponics would not have maintained alive the plants. green onion survived, parsley, the marigold that
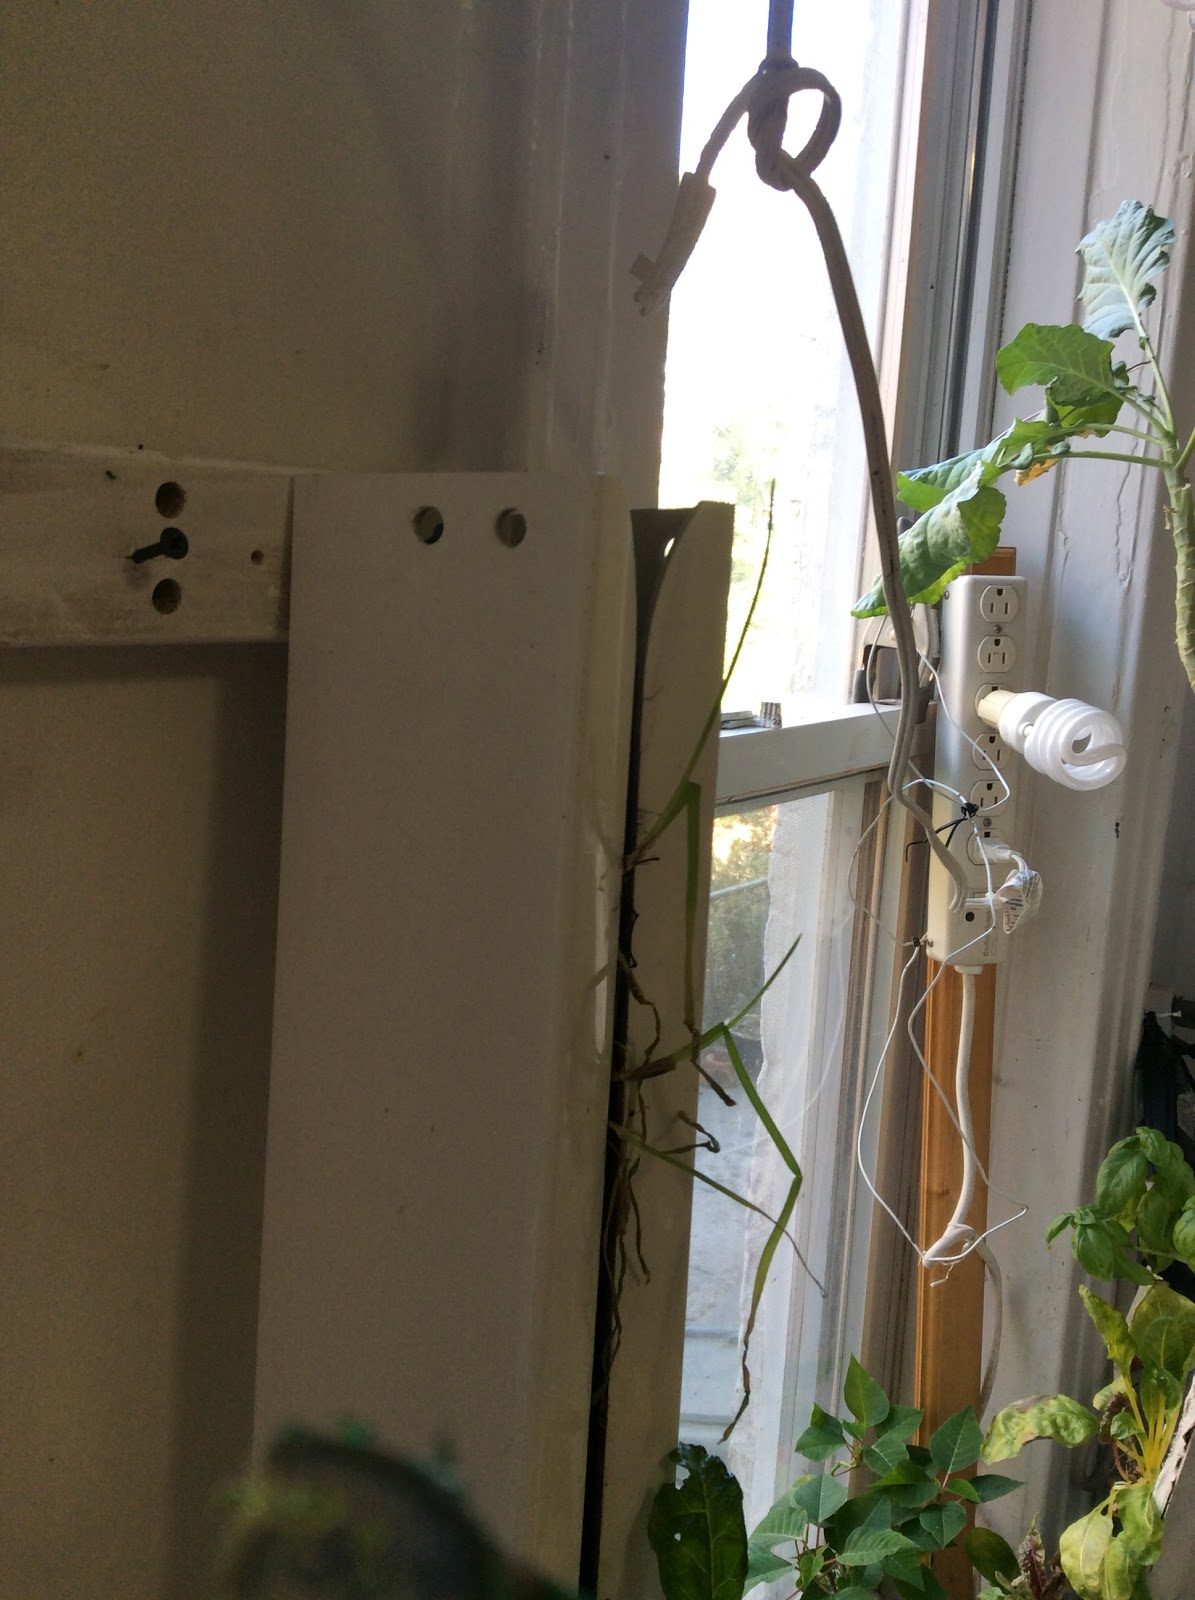


No comments:
Post a Comment